How to Set Up Motion Detection on Hikvision NVR (Version 5.0)

Setting up motion detection on your Hikvision NVR allows you to receive alerts, trigger alarms, and monitor activity more efficiently. Follow this simple step-by-step guide to get everything working.
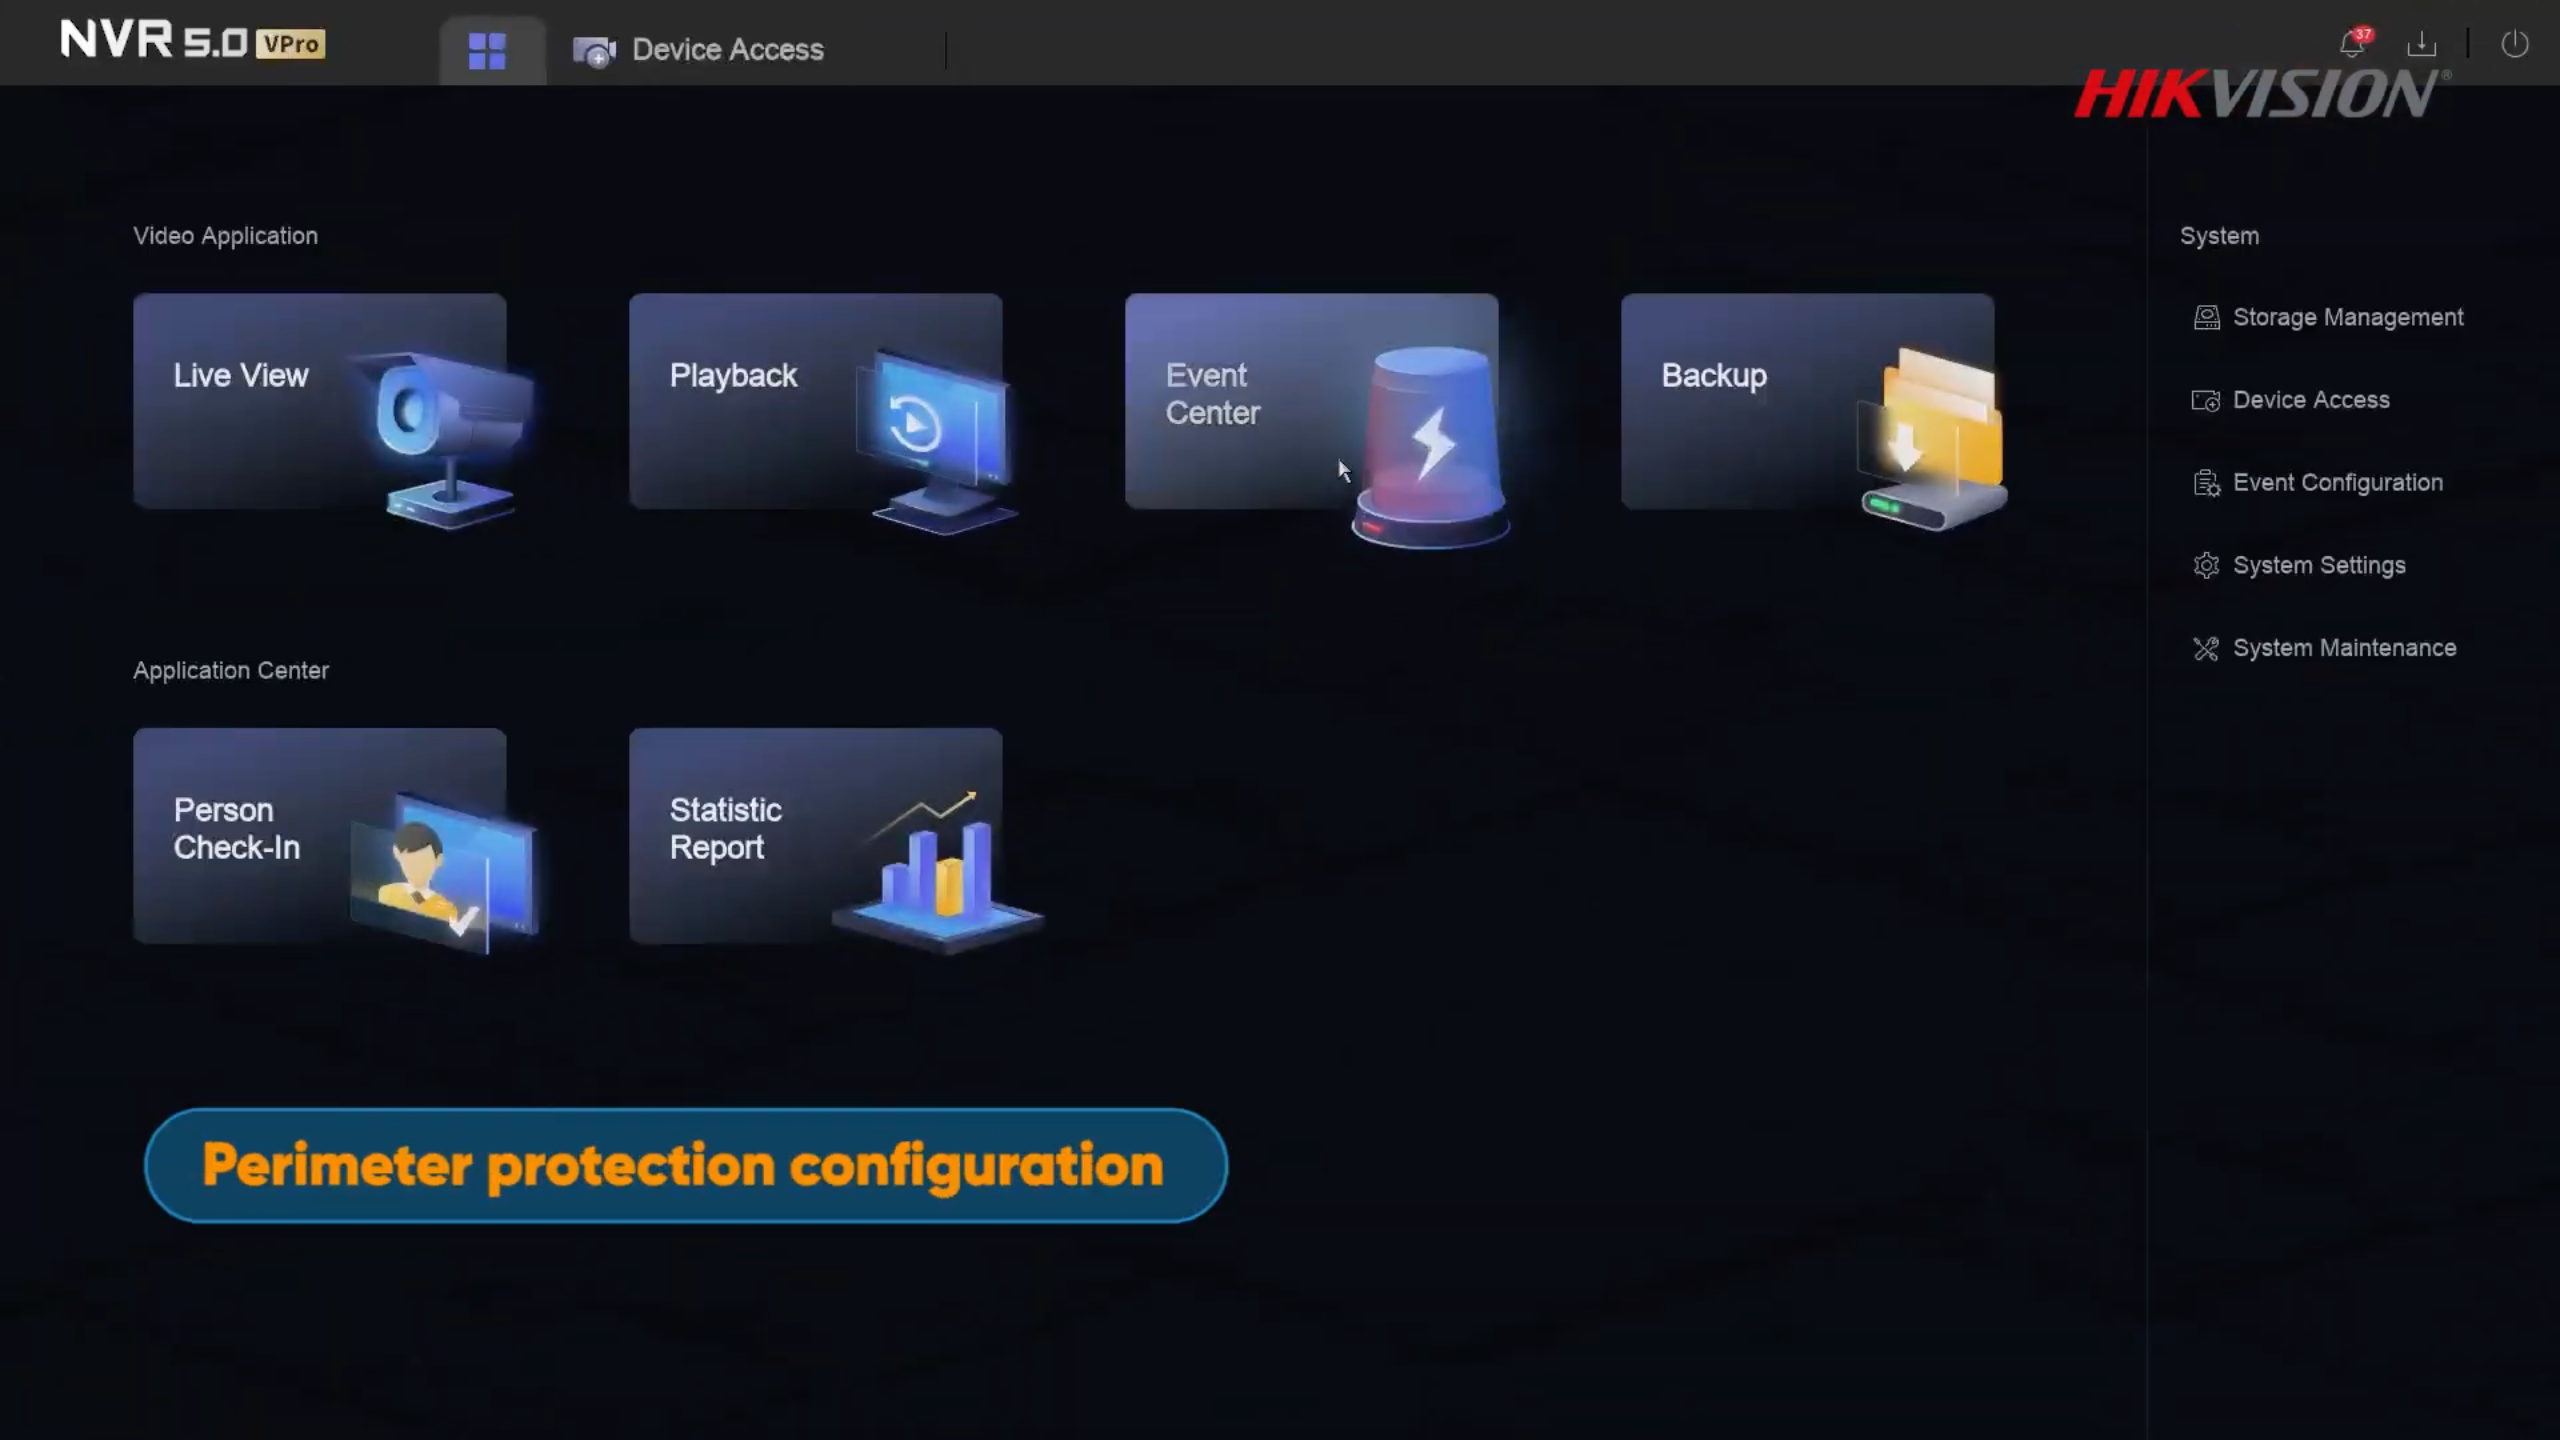
Step 1: Log in to Your NVR
Log in through your browser or directly on your monitor. If you don’t see the top menu, right-click and select Exit Full Screen.
Step 2: Open Event Settings
Go to Event Centre → Event Configuration.
Step 3: Enable Motion Detection
Select your camera and make sure Enable is turned on.
Step 4: Set Detection Area
- Click the bin icon to remove the default area
- Click Draw Area
- Draw your detection zone
- Right-click to finish
Step 5: Choose Detection Type
Select what you want to detect:
- Human
- Vehicle
If you only want people alerts, untick Vehicle.
Step 6: Adjust Sensitivity
The default is 60%, which works well in most cases. Adjust if needed.
Step 7: Set Arming Schedule
Choose when motion detection should be active. Example: 8 PM to 8 AM.
Step 8: Set Linkage Method (Alerts)
This controls how you get notified:
- Notify Surveillance Centre – sends alerts to your phone
- Alarm Pop-up – shows alert on screen
- Buzzer – NVR makes a beeping sound

Step 9: Alarm Output & Audio/Light
Alarm Output is used if you have an external siren connected.
Audio and Light Alarm uses the camera’s built-in speaker and light to warn intruders.
Step 10: Save and Test
Click Save, then test it by walking into the detection area. You should receive a notification and see the alarm trigger.
Need Help?
If you need help setting up your system, feel free to contact us or request an installation quote.